How to Spray Paint Brass Lamps
/Here at Roost, we'd rather reinvent something we already have, than run out and buy something new. It's better for our pocketbooks and our planet, and it generally requires some creative problem-solving -- three things that make us very happy. So I was excited last week to read a post at Apartment Therapy, about updating household objects with spray paint. I was in the middle of planning a mini-makeover of my bedroom, and my tight budget left no room to replace the sad little Target lamps (emphasis on both "sad" and "little") occupying my bedside tables. Then I remembered the two brass lamps gathering dust in the garage -- hand-me-downs from my in-laws that we almost gave away last year. And I'm so glad we didn't!
So, if you have old lamps stashed away in your attic, or if you spied some on the shelf at the thrift store, here's how to spray paint brass lamps to give them a whole new marvelous look (it takes hardly any time and even less money!).
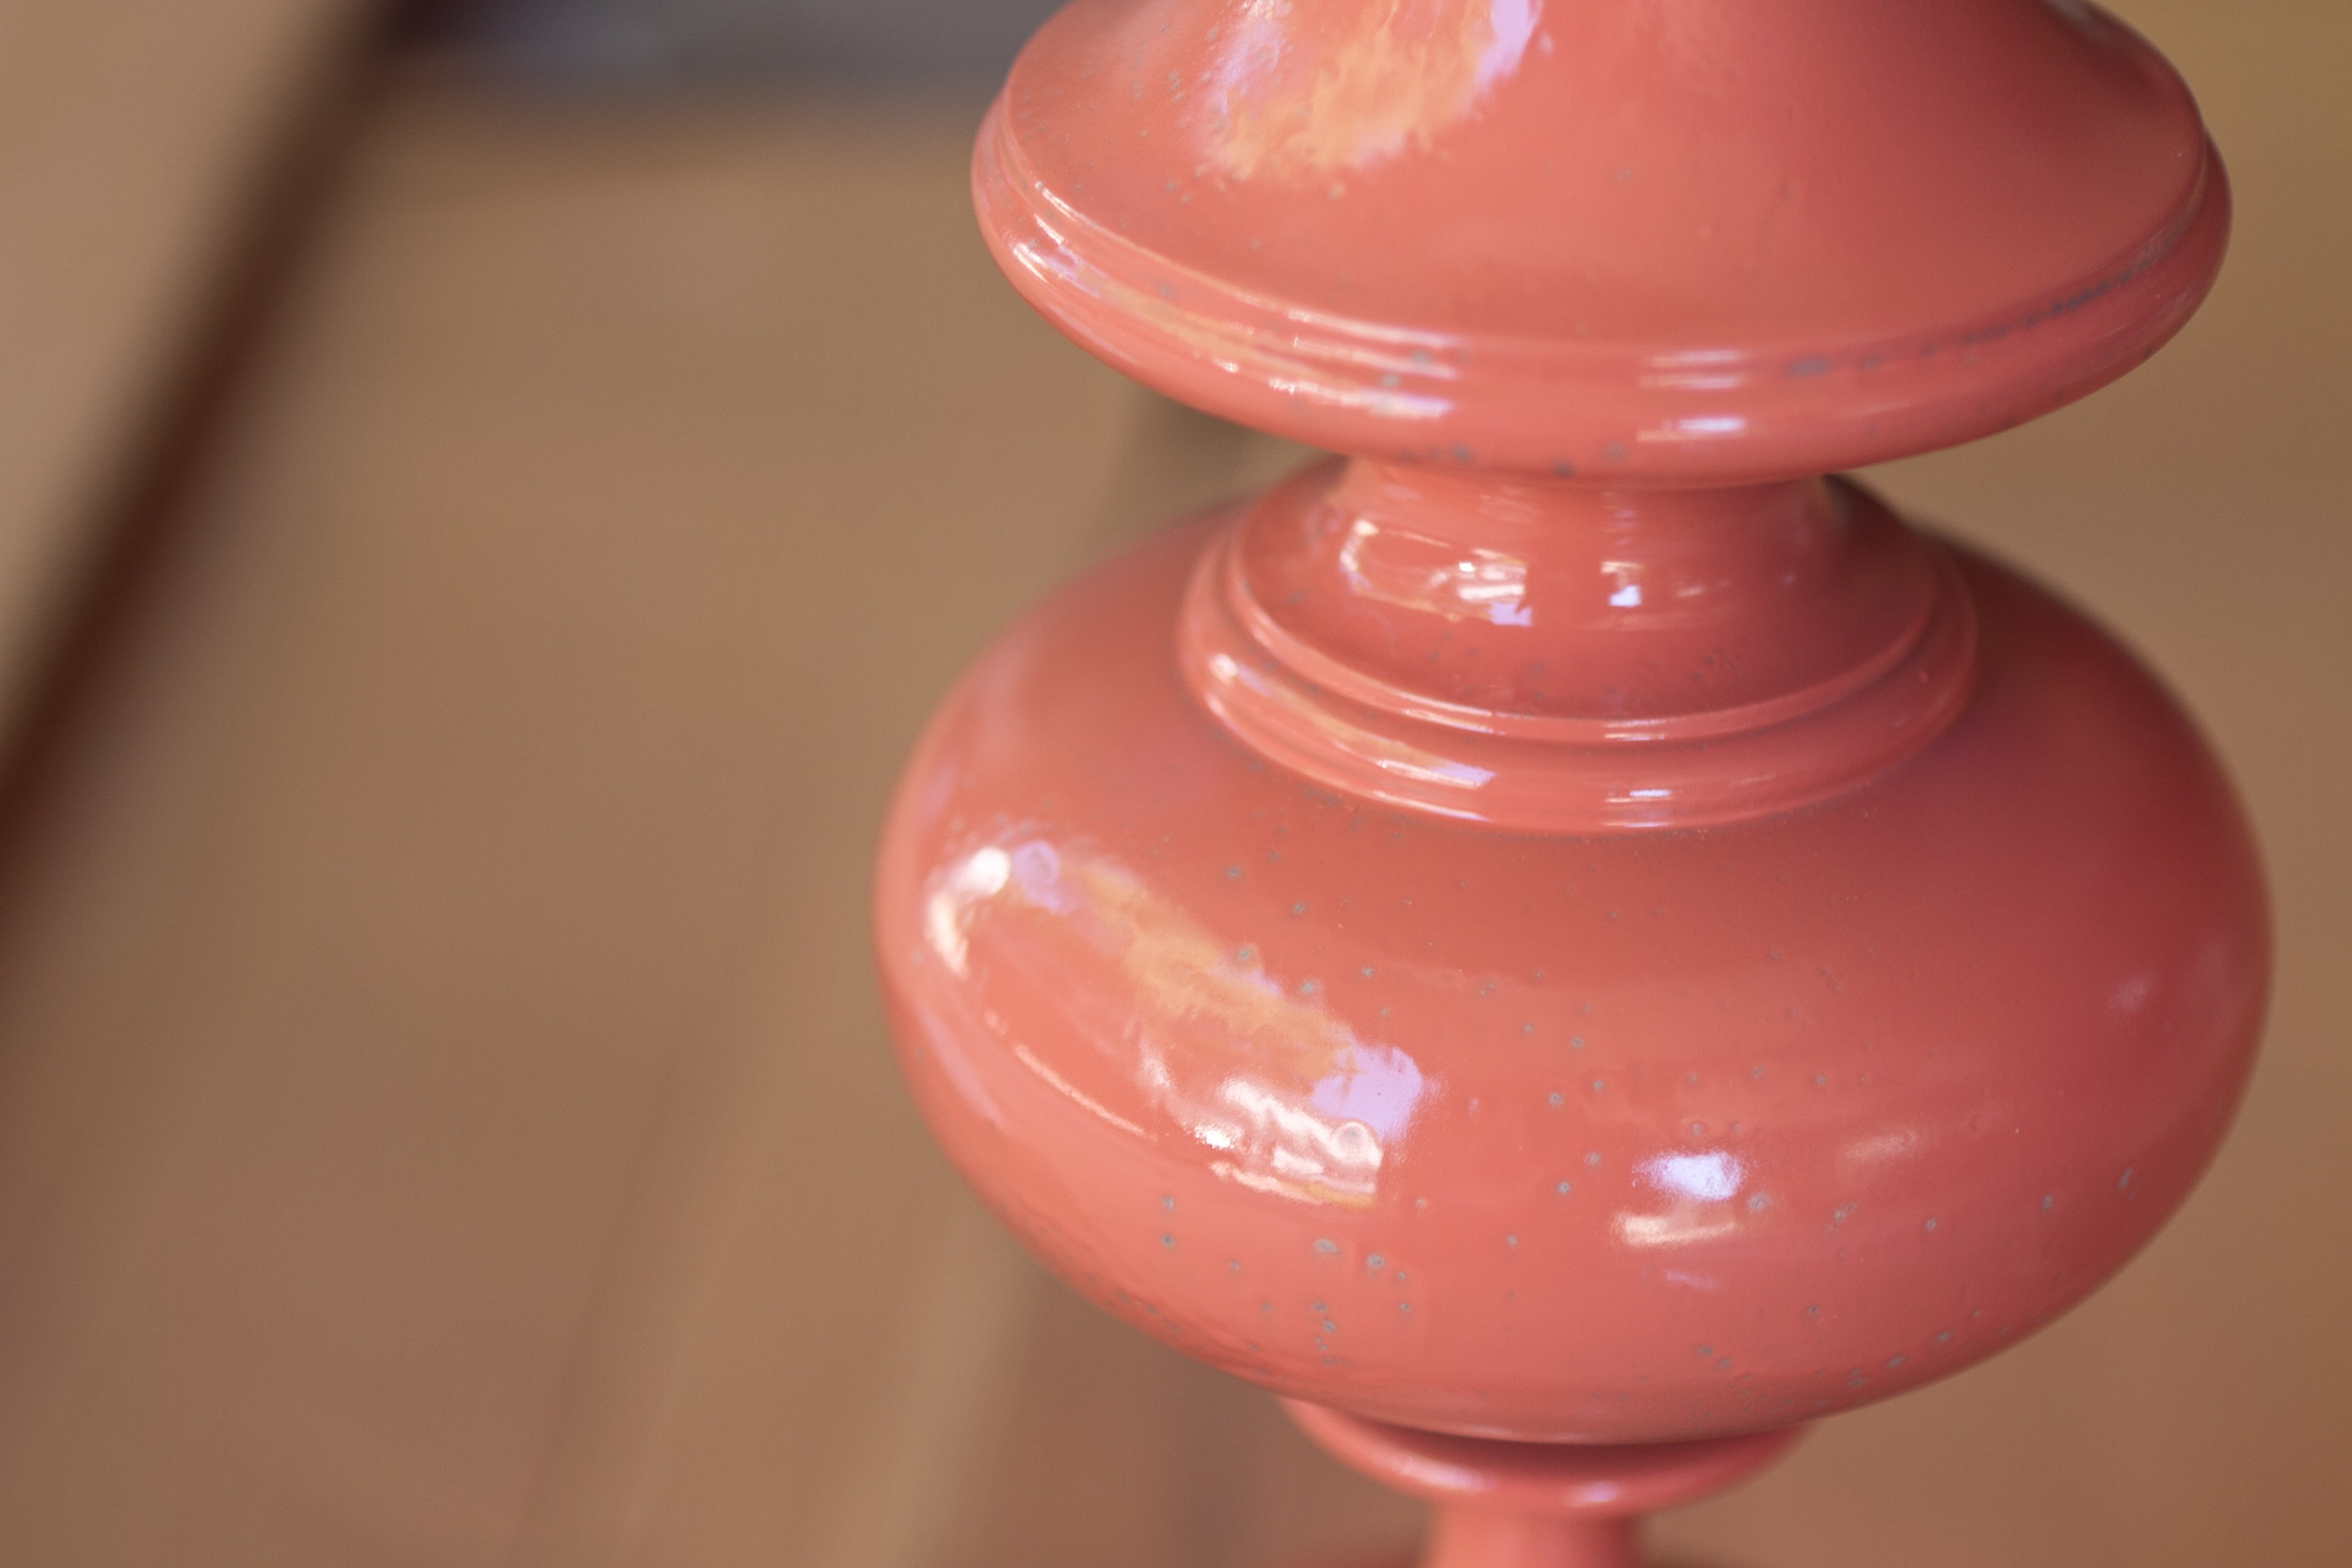
First, I researched online to find out which kinds of spray paint worked best on metal. Krylon ColorMaster Enamel Paint and RustOleum Painter's Touch were the top contenders. I ended up choosing Krylon's "Coral Isle" in high gloss for the two brass lamps, RustOleum's High Gloss White for a third lamp I threw into the mix at the last minute, and a bottle of white spray primer -- the two staff people at the hardware store disagreed over whether I needed it, so I decided to be safe rather than sorry.
Then I went home and gathered my supplies:
- Damp cloth or paper towels (for cleaning the lamps)
- Plastic bags (for protecting the lamp's cord and socket)
- Newspaper and/or flattened cardboard (for protecting whatever surface you use from the spray paint)
- Lamps, primer and spray paint (obviously!)
I cleaned the lamps and let them dry completely. Then I wrapped the lamp cord in one plastic bag and the socket, switch and harp in the other (I could've removed the harp altogether, but the clasps are old and kind of stubborn, so it was easier to just cover them up):
Next, a coat of white spray primer -- if I do this again, I'll add two coats of primer, for reasons that will be clear in a bit:
I waited about an hour for the primer to dry, even though the can said I only needed to wait 30 minutes. Then I applied the top coat:
I suspect it's because I didn't use enough primer, but if you look closely, the top coat didn't adhere 100% evenly -- but I figured anything homemade is going to have some kind of imperfection, and I hoped a second coat would cover it up:
 I waited another hour before applying the second and final coat. Then I left them in the garage with the doors and windows open for another 2-3 hours to dry:
Here is the third lamp, painted high-gloss white (it was originally dark bronze):
I was going to spray paint the shades, too, but the thought of the paint-soaked shades heating up over lightbulbs made me a bit nervous -- even though I've read online that plenty of people have done it. So I decided to store the original shades for future use (their color wouldn't work with the new paint color in the room), and I bought two new shades on sale. I normally swoon over drum shades, but I thought the texture of these simple white ones worked really nicely with the textured white curtains. I suppose the lamps are technically a tick too big to use on bedside tables, but I really like the statement they make -- and but for the shades, some spray paint, and an afternoon, they were free!
If you're interested in trying this yourself, check out these helpful tips on spray painting all sorts of household surfaces -- and share before and after pics if you decide to do this at home!


